This article covers how to add a new tile to your project.
Tiles are customisable pages on your project. Unlike standardised Commonplace pages - such as the timeline page - which appear on every project and have a specific purpose, tiles are much more flexible in terms of what kind of information you place on them and how they are structured.
Tiles come in two main formats, proposals and maps:
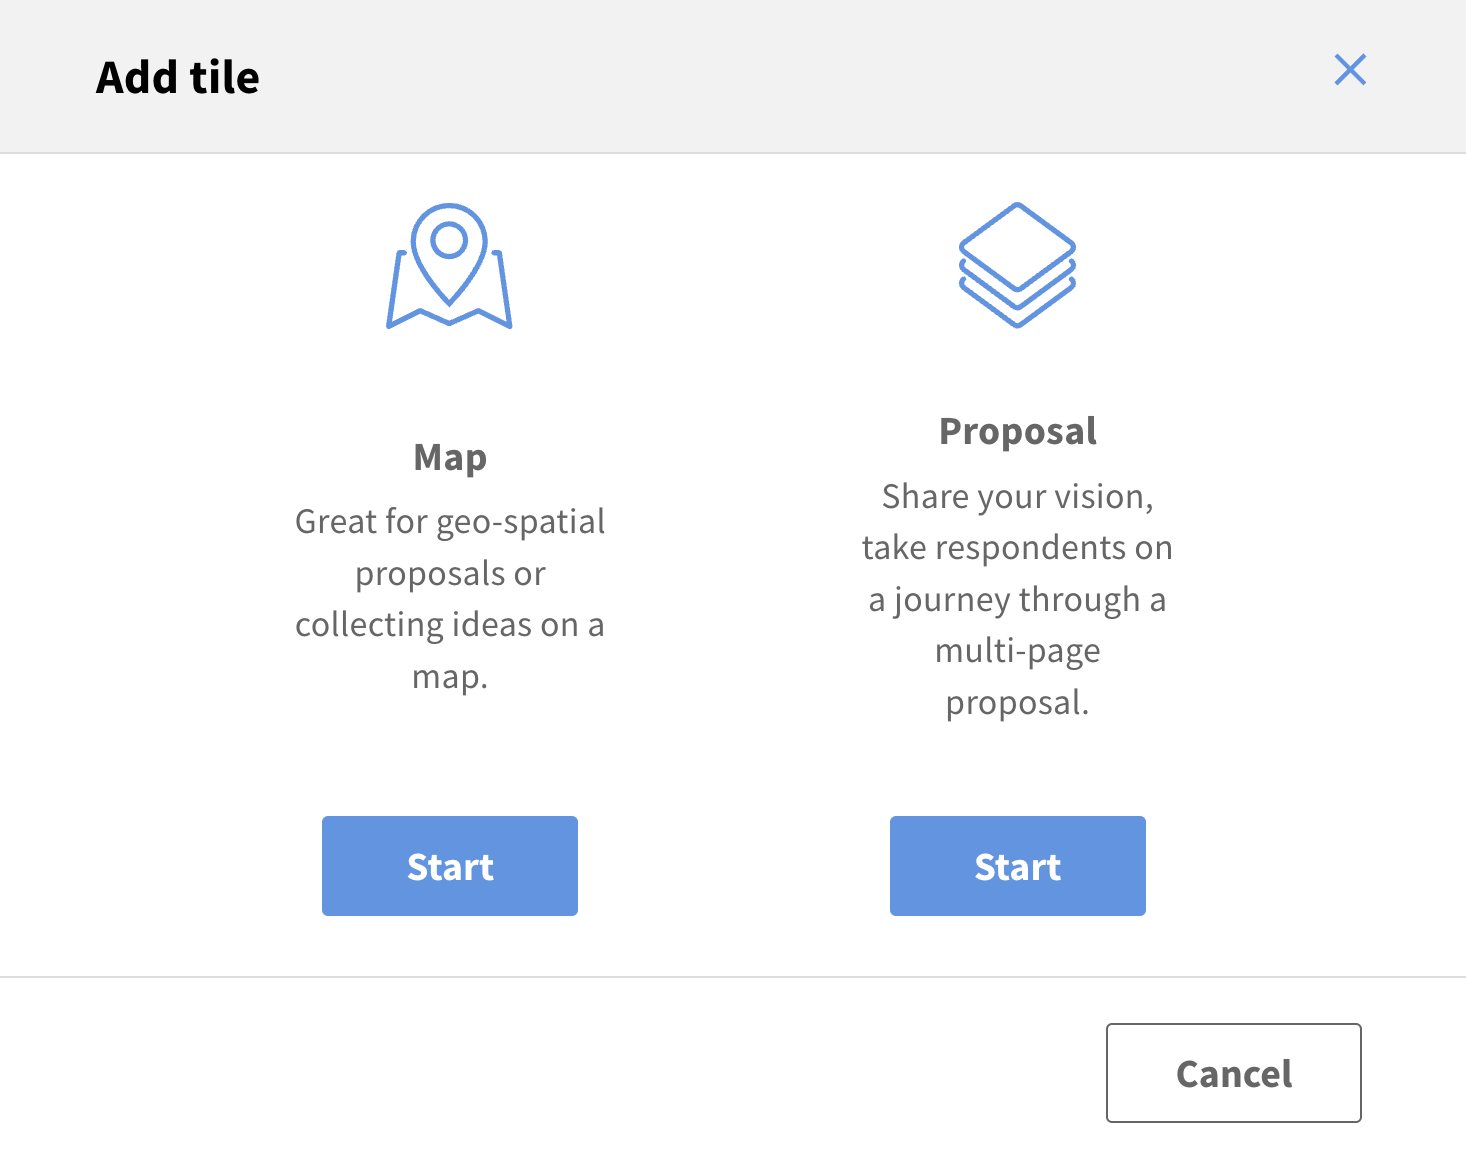
Proposal tiles are essentially blank pages - they are ultra flexible, meaning you can lay out text, images, documents and survey questions in any way you choose. Each proposal tile can be broken down into multiple 'steps'
Map tiles are focused on geospatial feedback. The survey questions allow you to create a 'heatmap' of local sentiment, whilst you can also display information on the map such as data layers, boundaries, info points or landmarks
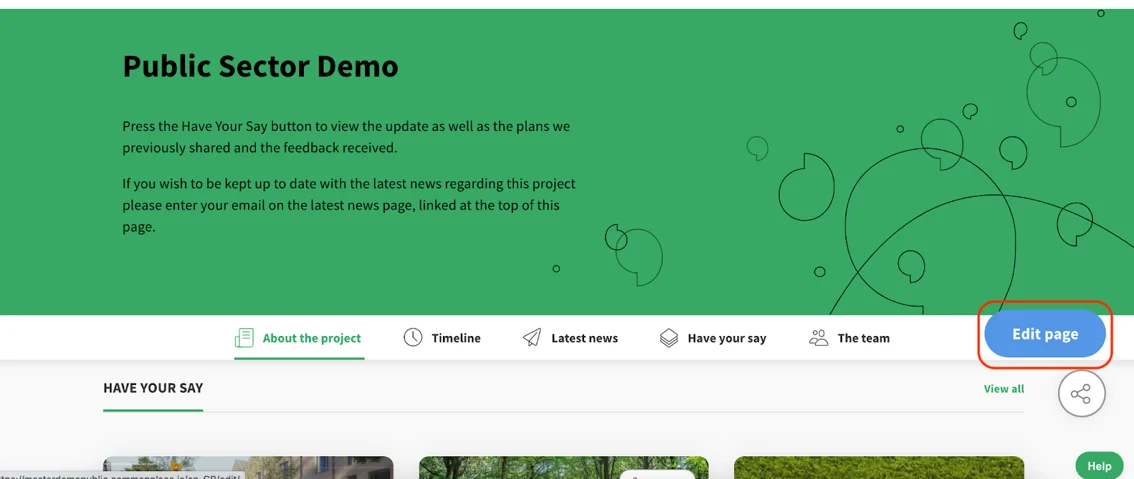
First, click the 'edit page' button in the bottom right corner of the screen.
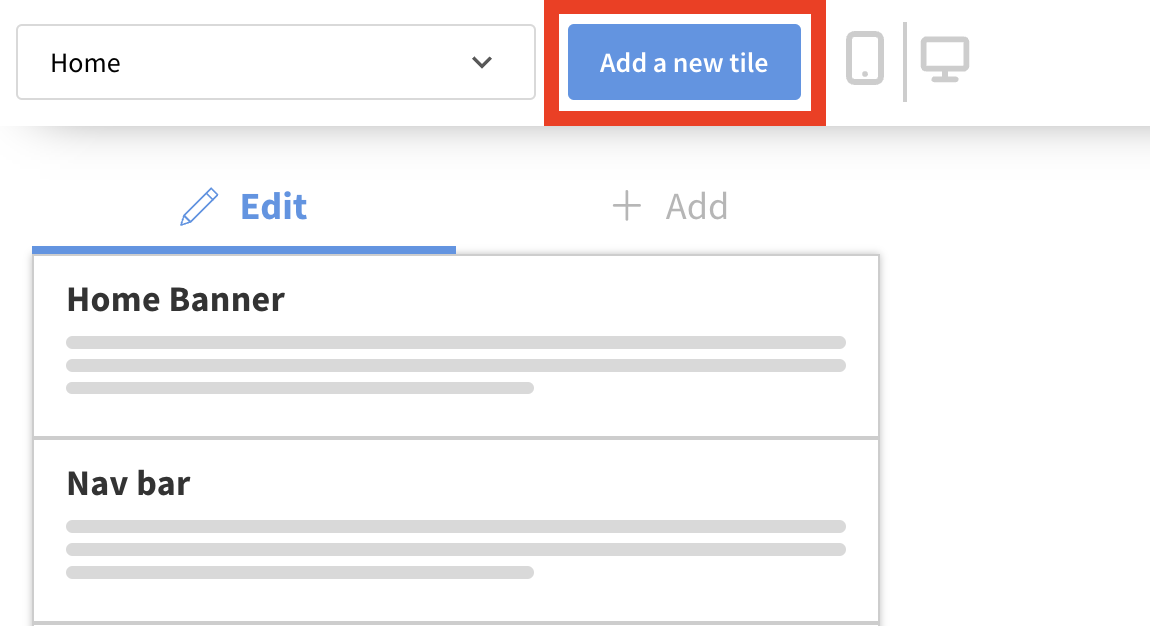
In the top left corner of the page - next to the page selection dropdown menu - select 'add a new tile'.
Select from the two options whether you want to create a proposal tile or a map tile.
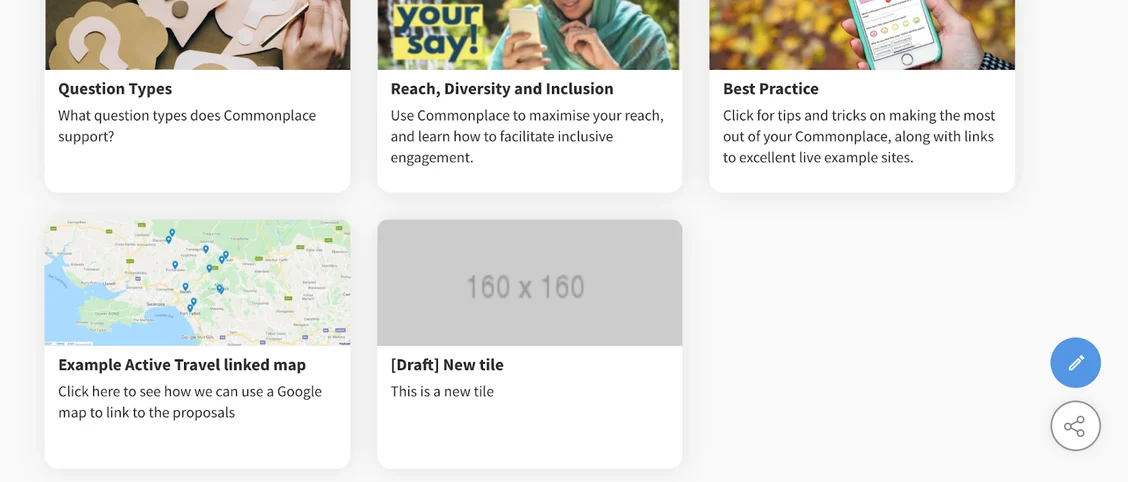
Populate the content that displays in the tile preview on the home page - such as title, description, image and call to action button. You'll find a selection of call to action buttons for proposal tiles, map tiles and tiles without questions. This information can also be edited after the tile has been created in the right hand 'summary' panel for proposal tiles, or in the left hand panel 'settings' panel for map tiles.
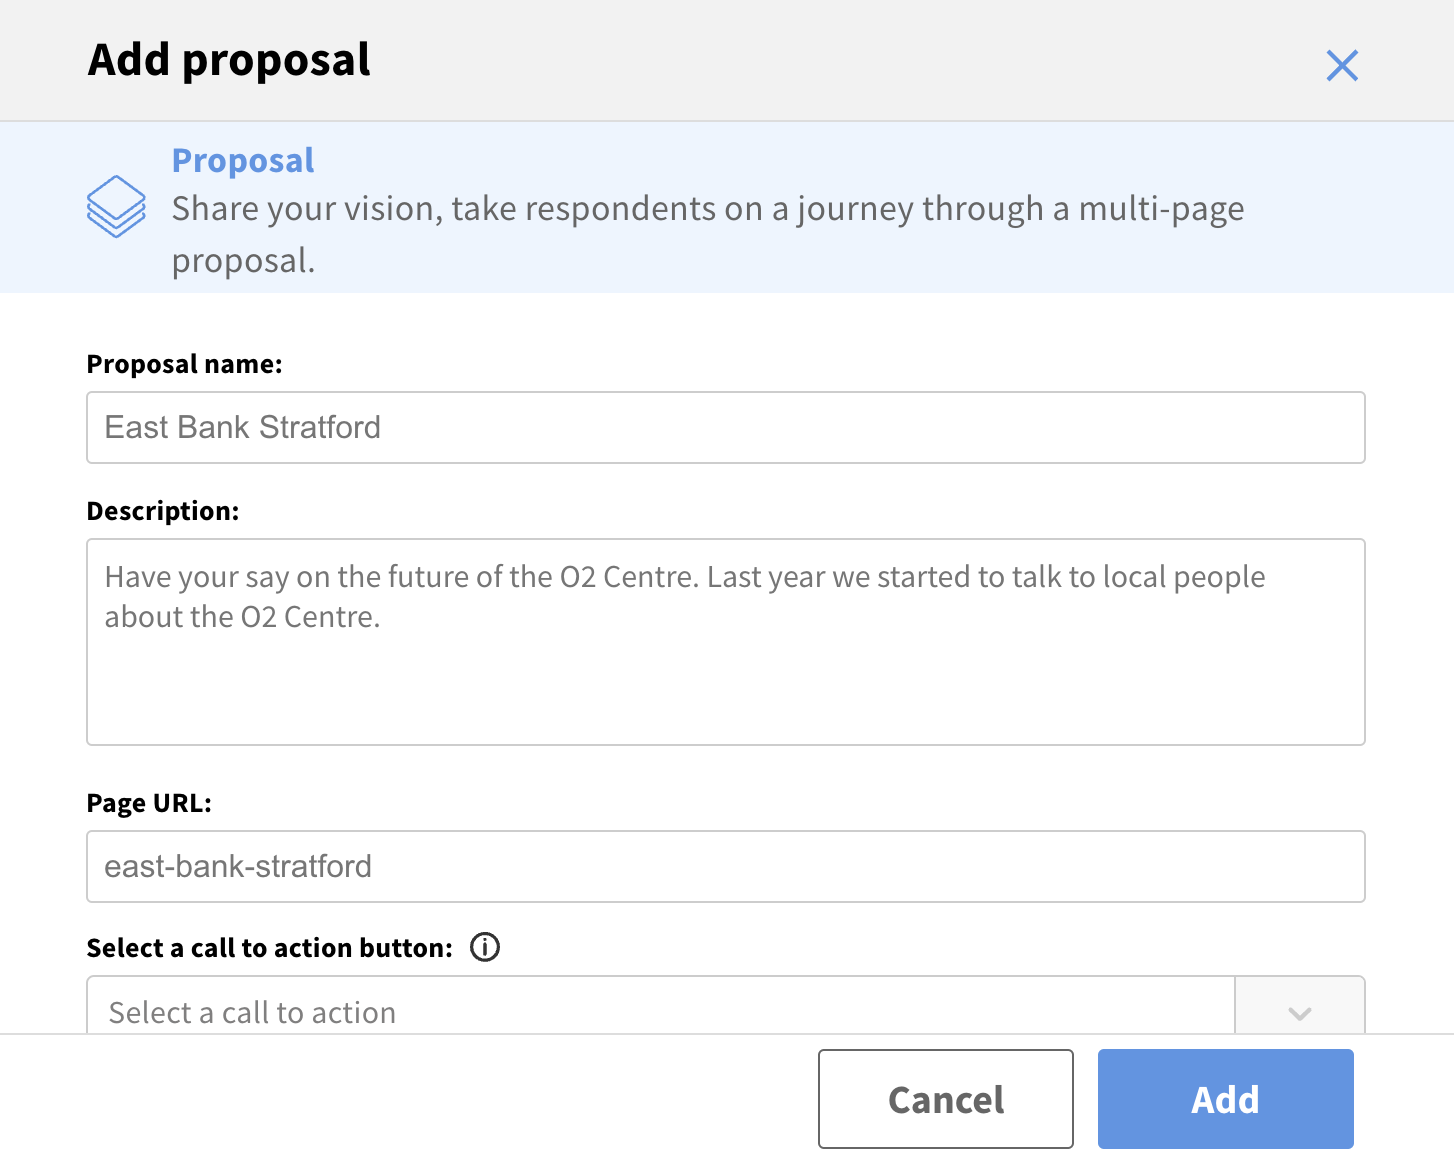
Click 'add' to create the tile.
Your new tile has now been created - you will be able to view it either from the home page, or in the 'page' dropdown menu (in either the 'proposals' or 'maps' folder, depending on the type of tile you created).
Still unsure about anything? There's lots more information here on the Commonplace Help Centre - alternatively, contact the support team and we'll be happy to help